Webhook Node
-
A Webhook Node allows you to receive data from anywhere.
-
A webhook can only be used at the beginning of the workflow.
-
Just generate a webhook endpoint URL, send some data there (via an http request using cURL, or Postman, etc), then when the event object data is received it can be and used your workflow.
-
The event can also trigger you workflow to activate.
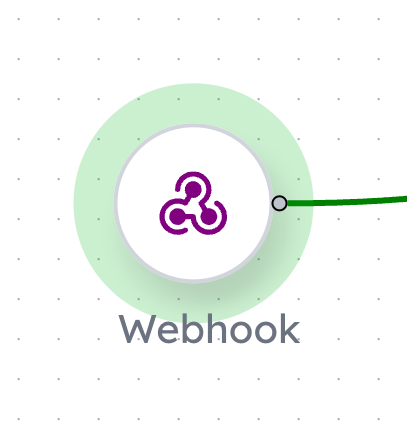
1. Drop a webhook node
Drag and drop a webhook node into the scenario
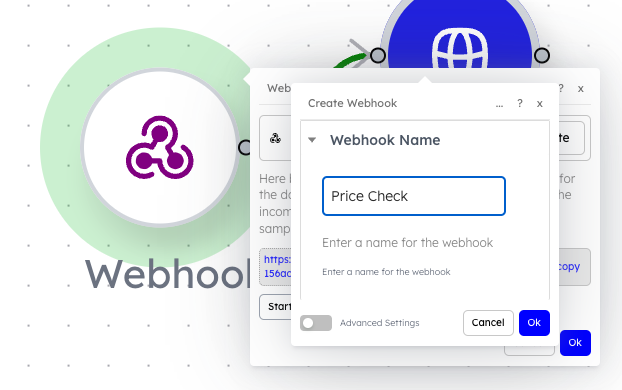
2. Create a Webhook
Create a webhook by clicking create and then entering the name of the webhook.
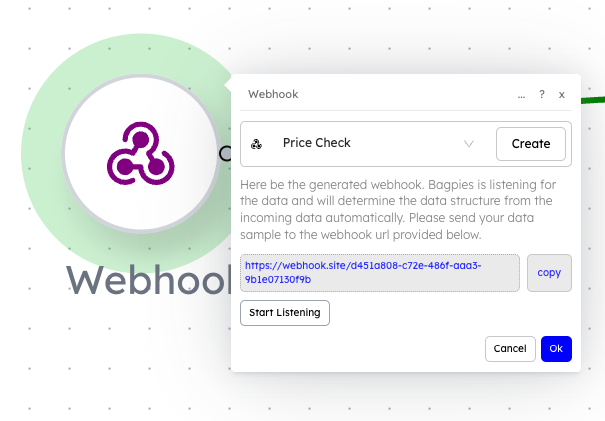
3. Copy Webhook Endpoint
Once you added a name and pressed ok, a new webhook endpoint will be generated for you. Copy this link and use it to send events.
Make sure to click "Start Listening" so that the webhook is listening for new data.
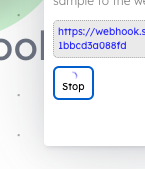
Now we want to send some initital data to the webhook. This is essential so that the objects and fields of the data structure can be used downstream.
4. Send data to the webhook endpoint
We will use Postman to send a POST request to the endpoint.
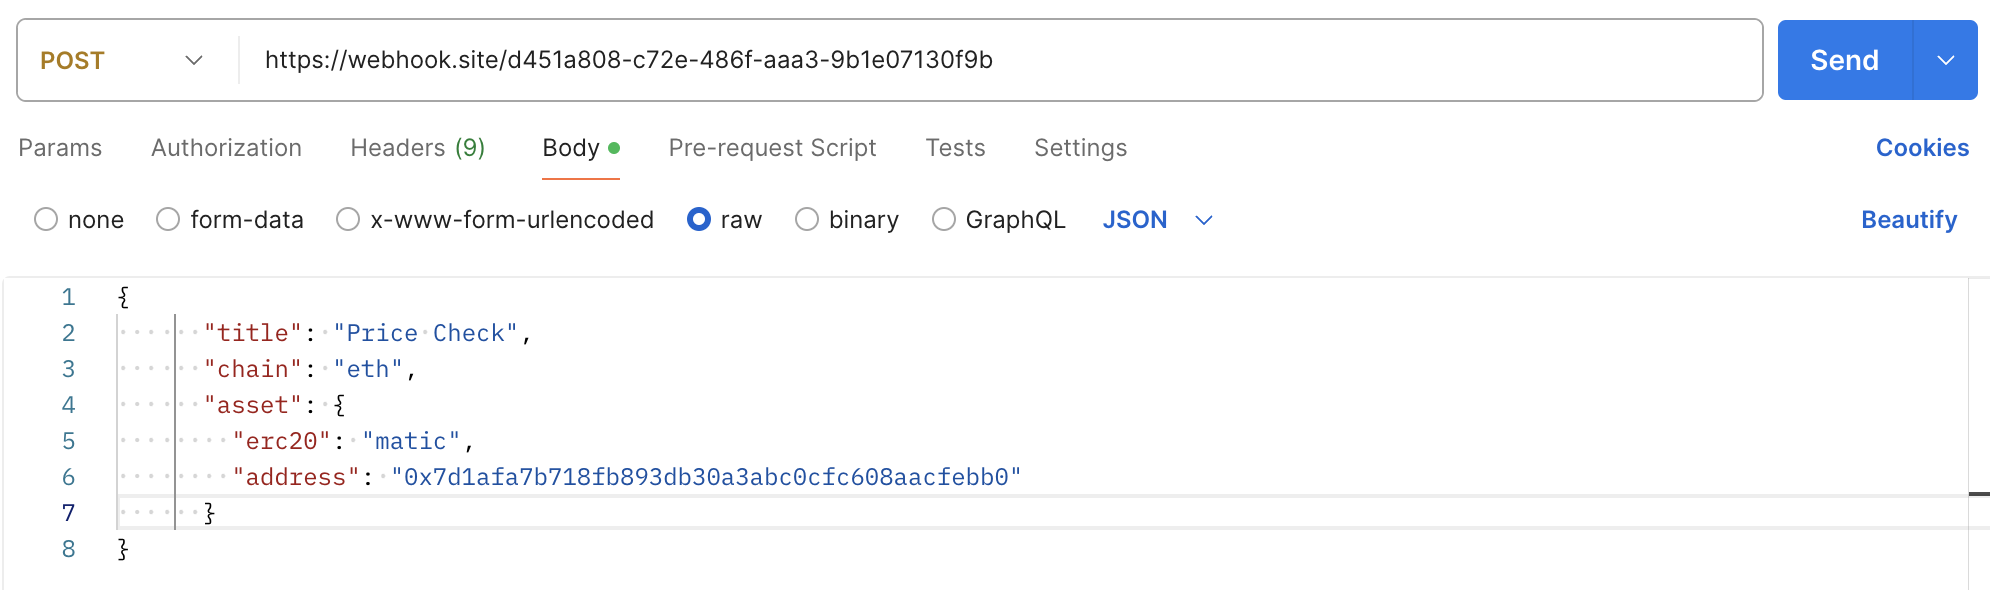
We added the necessary object to the body. In this example it contains, title, assetPair and priceType, which are needed in our example price fetcher.
Then we send the request. Once it is sent the Webhook should receive the event, and you should get a notification that the webhook event is received.
5. Use the Webhook data in the scenario
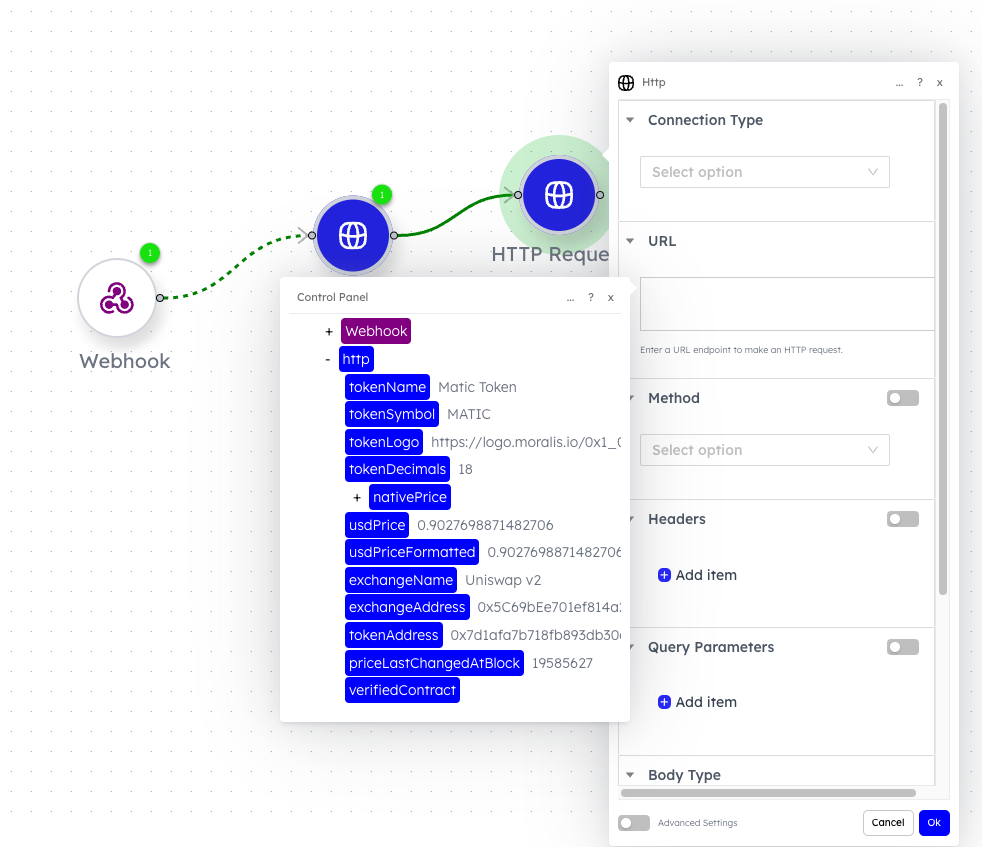
You can now use the event data data downstream in other nodes. Just drag and drop the pills in the control panel.
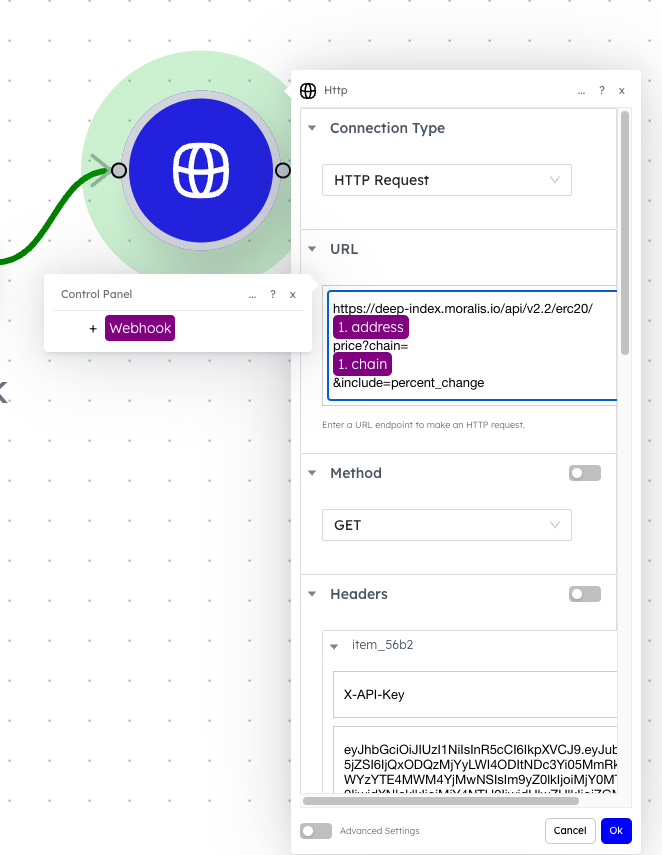
Above the variables representing data from the webhook is dragged and dropped into other fields. These are called Pills.
In this example the data coming from the webhook is being used, however in some use cases the webhook can purely be a trigger that starts the scenario execution.
Take care pasting text into the field as it may contain hidden html that may cause errors. This will be improved in later updates.
6. Run the scenario
Then we press the "Run Once" button in the top right, and then the scenario execution is running. The webhook will await for an event.
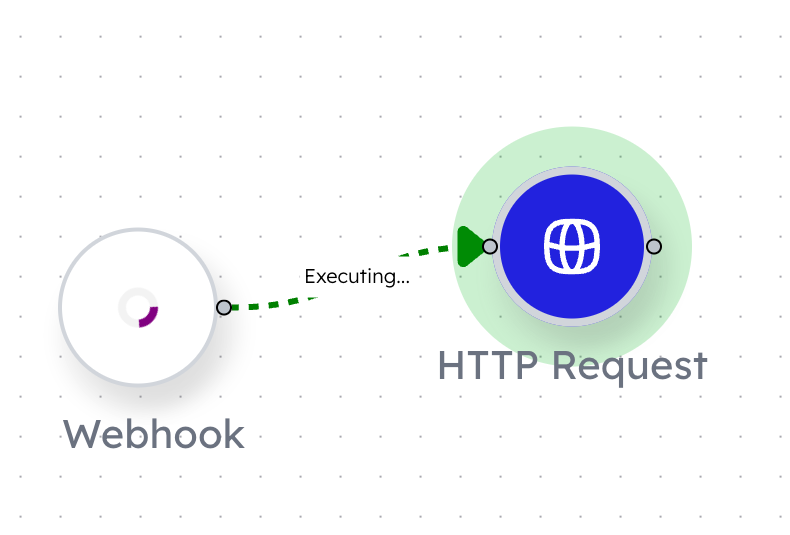
We then send another Postman request, with the same data structure (but can have different data).
7. Responses received
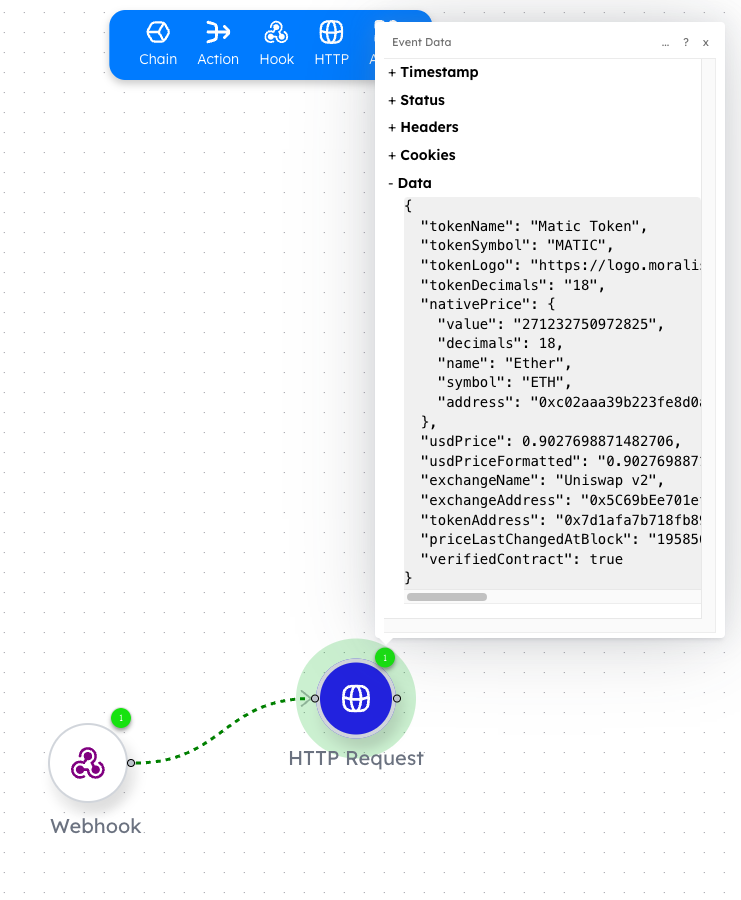
The responses are received and the data can be viewed if clicking on the green notification.
The data structure of the response can be saved as pills if you wish to extend the scenario workflow...
8. Using the response data
If we add an additional node to the scenario, and then open the control panel (by clicking on any input field) we can see that the control panel has been populated by pills from the http's. The pills can be used as keys, but with the flexibility of differing values.
The responses are received and the data can be viewed if clicking on the green notification.
The response data structure can be saved as pills if you wish to extend the scenario workflow...